Gin is good. Cake is good. Friends are good. So what better way to christen the Bright Mansions kitchen than by combining the three? The original recipe came from here, but we tweaked slightly.
Ingredients – for the cake
- 385g plain flour
- 2 teaspoons baking powder
- 1/4 teaspoon salt
- 230g unsalted butter
- 350g caster sugar
- 4 large eggs
- 2 tsp vanilla extract
- 1 1/2 tablespoons freshly zested lime rind
- Juice of one lime
- 60ml gin
- 60ml tonic water
Ingredients – for the glaze
- 225g icing sugar
- 5 tablespoons gin
- Juice of 1 lime
Ingredients – for the icing
- 320g icing sugar
- 2-3 tablespoons gin
- 1 teaspoon vanilla
- Zest of a lime or two
Method
- Preheat the oven to 350 F / Gas Mark 5 / 170-190 C
- In a medium bowl, mix together the flour, salt and baking powder. Set aside.
- In a large bowl, cream together the butter and sugar until soft, light and pale.
- Add one egg at a time, beating each one until fully combined before adding the next.
- Add in the lime zest and vanilla.
- Add in half of the dry ingredients and mix until fully incorporated.
- Mix in the gin, tonic and lime juice, followed by the rest of the dry ingredients.
- Pour into your greased/lined tins/cases.
- Bake for about 40 minutes until golden and until a knife stuck in the middle comes out clean.
- While the cake is baking, mix up the glaze. Mix up the icing sugar with about half the gin and the lime juice. Add more gin until the glaze is very runny. If you need more liquid, add in a bit of tonic water.
- As soon as the cake comes out of the oven, prick it all over and pour the glaze over the top, allowing it to soak in the cake.
- Cool completely.
- Mix up your icing, aiming for a very thick consistency. Spread across the top of the cake and cupcakes.
- Decorate with a sprinkle of lime zest
Things we learnt
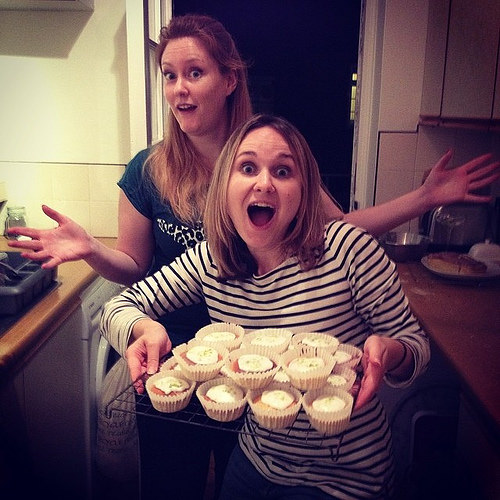
- The recipe made 1 x loaf cake and 18 x muffin-sized cup cakes.
- Depending on your oven, and what size cakes you decide to make, the cooking time does vary. The cup cakes were ready at about 30 minutes, the loaf cake took a good 15-20 minutes more as it was much deeper.
- Sift your icing sugar. No one likes lumpy icing.
- If you need slightly runnier icing, add a squeeze of lime juice. Do this REALLY cautiously, because it only takes a drop to turn perfect icing into runny goo.
- This is a really simple recipe, but it does take time. And make sure the cakes are fully cool before icing.